I have neglected my blog for quite a while. The Blogger platform that I have used before is good, but it is not exciting to go there and make new blog entries. I wanted a better, easier, natural way to edit and maintain the blog. By natural, I mean something that fits my workflow. I am dealing with code every day. I use various developer tools and version control systems. So two major items in my developer workflow are:
- Write code and supporting documents using different languages (markdown is one of them).
- Check-in produced artifacts into a version control system.
Github is one of the popular version control systems. Github offers great companion service - Github Pages for hosting static sites. You create a repository GitHub username.github.io if you want a user site. Or a brunch in an existing repository if it is a project site. You can put a full ready to run static website into that repository or use Markdown files. Static site generator Jekyll will convert Markdown files to HTML. Writing a post using Markdown is very easy. It has a small set of rules that are easy to remember. For Jekyll, you have to add a small amount of metadata at the top of each post’s Markdown file. This is how I write my blog posts now:
- Write the new post in markdown.
- Check-in the post into Github pages repository.
That is all! Jekyll will generate the new HTML file, update all dependencies and it will publish it to the live site. As you can see it is exactly same steps from my workflow.
I had to port my old posts from the Blogger platform. The main challenge was to preserve the links. Jekyll has permalink setting that you can set globally or per individual post. It allows you to customize the link any way you want. It was very easy to change to mimic Blogger’s format:
permalink: /:year/:month/:title:output_ext
Theme for Jekyll
There are plenty of themes available for Jekyll sites.
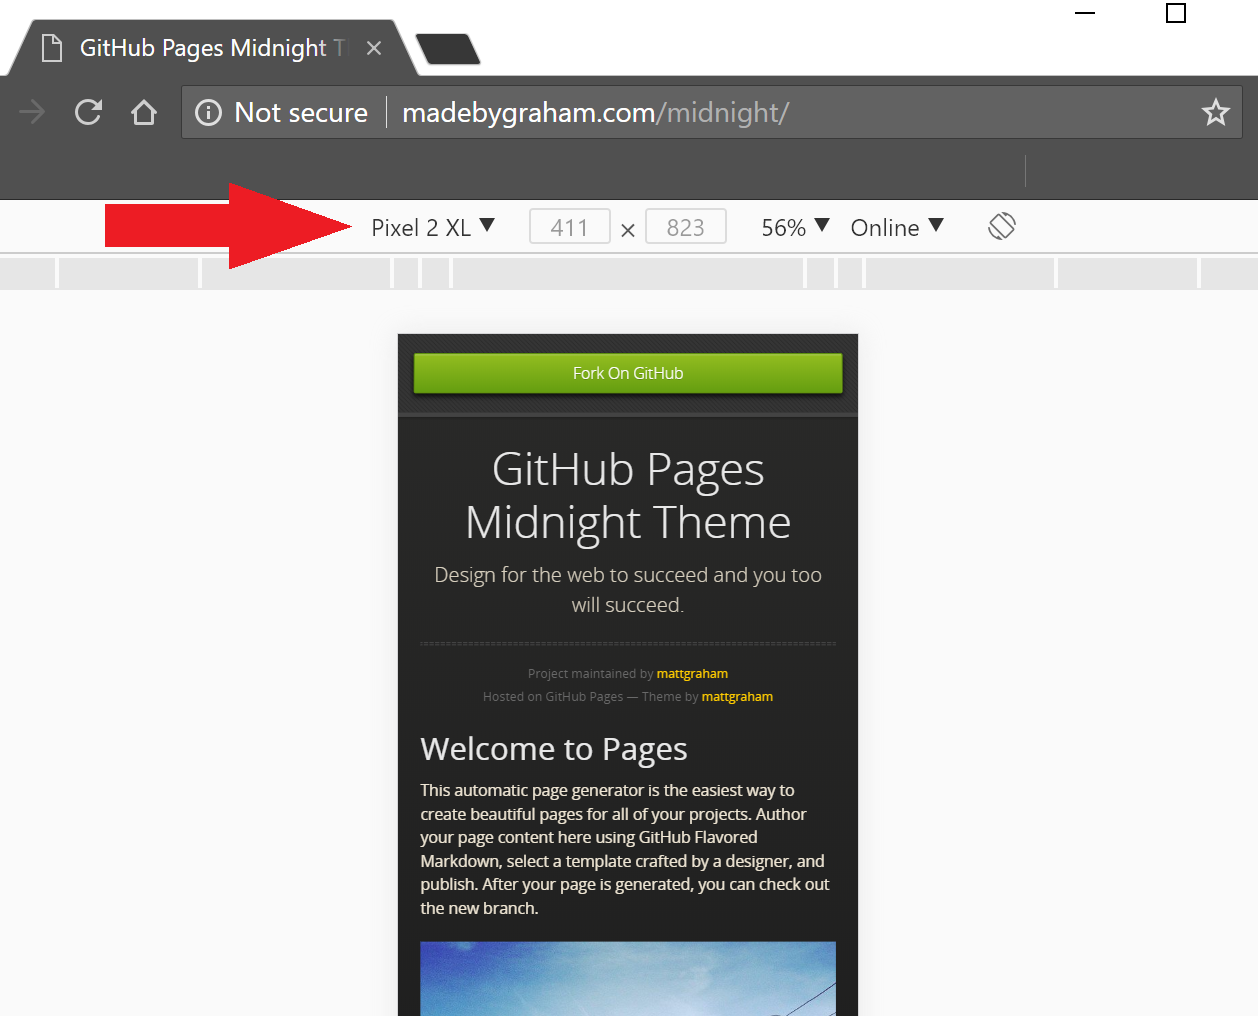
Make sure to test the theme you have selected with various screen sizes. I would rather have a theme that works in all sizes from the start. I have used Developer tools (F12) in Google Chrome to do that. You can “emulate” various devices (screen sizes) in the Developer tools view. Here is what the Midnight Theme will look like on Pixel 2 XL:
Make sure to do proper attribution to the themes’ author(s). Always check and follow the license requirements.
Testing locally
You can run Jekyll on your machine for preview or if you want to avoid publishing draft posts. For non-Ruby folks, the easiest way is to use Docker. Nice people from Jekyll project made an image available. Couple of issues I ran into while trying to run the container:
- My theme had Gemfile and Gemfile.lock that were causing an issue with one of the gems in the Jekyll docker image. I solved it by removing my local copies.
- A lot of links didn’t work. The problem was that baseurl in the _config.yml had the slash in it. I found this post (another Github pages site by the way) that describes the correct way of configuring various URLs. Following the rules in that post fixed the issue.
Here is my docker.compose.yml and extra _config.docker.yml for running Jekyll
docker.compose.yml
jekyll:
 image: jekyll/jekyll:pages
 environment:
    - JEKYLL_ENV=docker
 command: jekyll serve --force_polling --incremental --config _config.yml, _config.docker.yml
 ports:
    - 4000:4000
 volumes:
    - .:/srv/jekyll
_config.docker.yml
url: "http://localhost:4000"
The –force_polling setting is set to enable live update for modified files. When you add a new post you might need to touch the index.html file and/or any other files that reference the new post.
I am still learning about Jekyll. The final version of the blog might look different once I am done experimenting with Jekyll.
Thank you for reading.